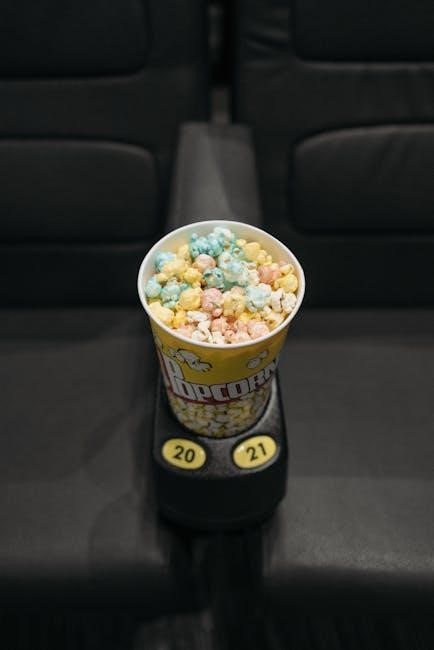
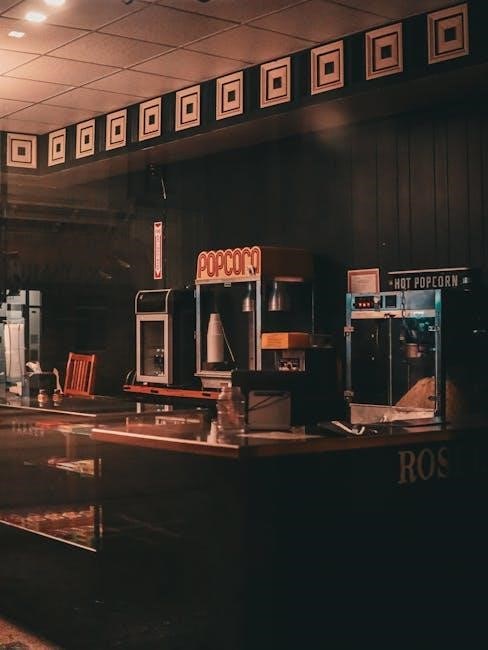
Nostalgia Popcorn Makers bring classic movie theater experiences home, offering both cart and kettle styles. These devices provide a delightful, retro way to enjoy fresh popcorn, mirroring the golden age of entertainment.
What is a Nostalgia Popcorn Maker?
Nostalgia Popcorn Makers are countertop appliances designed to replicate the charm and flavor of popcorn enjoyed at carnivals, movie theaters, and events of yesteryear. They typically come in two main styles: cart-style and kettle-style. Cart-style models feature a heated popping cart that circulates kernels for even cooking, while kettle-style machines utilize a rotating kettle with a stirring mechanism.
These makers aren’t just about popcorn; they’re about creating an experience. They evoke a sense of fun and nostalgia, offering a unique way to enjoy a classic snack. They are designed for home use, providing a convenient and entertaining alternative to microwave popcorn or traditional stovetop methods.
Why Choose a Nostalgia Popcorn Maker?
Nostalgia Popcorn Makers offer a unique blend of entertainment and delicious snacking. Unlike pre-packaged options, these machines allow you to control ingredients, ensuring a fresh and flavorful experience. The vintage designs add a charming aesthetic to any kitchen or entertainment space, sparking conversation and creating a festive atmosphere.
Beyond the fun factor, they’re a cost-effective alternative to frequent movie theater visits. Enjoy customized popcorn with your preferred oils, seasonings, and toppings, making every batch a personalized treat for family and friends.
Unboxing and Component Identification
Carefully unpack your Nostalgia Popcorn Maker, verifying all components are present: base, popping cart/kettle, lid, measuring cup, and this instruction manual for optimal use.
Identifying All Parts
Before first use, familiarize yourself with each component. The base houses the heating element and motor. Cart-style models include a removable popping cart with a stirring mechanism. Kettle-style units feature a non-stick kettle.
A clear lid allows viewing during popping. A measuring cup ensures accurate kernel portions. Some models may include a butter melting tray. Refer to the parts diagram in this manual to confirm you have everything needed. Carefully inspect each part for any shipping damage before proceeding. Proper identification ensures safe and efficient operation.
Checking for Damage
Upon unboxing, thoroughly inspect all components for any signs of damage incurred during shipping. Look for cracks in the base, lid, or kettle. Examine the popping cart for bent or broken parts, especially the stirring mechanism.
Ensure the power cord is intact and free from cuts or fraying. If any damage is detected, do not attempt to operate the popcorn maker. Contact customer support immediately to arrange for a replacement or repair. Operating a damaged unit could pose a safety hazard;
Setting Up Your Nostalgia Popcorn Maker
Proper setup ensures optimal performance and longevity. Locate a stable, heat-resistant surface and confirm access to a grounded electrical outlet before beginning.
Power Source Requirements
Nostalgia Popcorn Makers typically operate on standard 120V AC power, 60Hz. Always verify your outlet voltage matches the appliance’s requirements, detailed on the unit’s base or in accompanying documentation. Using an incorrect voltage can cause damage or pose a safety hazard.
A dedicated circuit is recommended to prevent overloading, especially when operating other appliances simultaneously. Avoid using extension cords if possible; if necessary, ensure it’s a heavy-duty cord rated for at least 15 amps. Never operate the popcorn maker with a damaged power cord or plug. If damage occurs, discontinue use immediately and contact customer support for assistance.
Initial Cleaning Procedure
Before your first use, thoroughly clean all removable parts – popping cup, stirring arm (if applicable), and cart – with warm, soapy water. Rinse completely and allow to air dry. Wipe down the exterior housing with a damp cloth; never immerse the base in water.
This removes any manufacturing residue and ensures a hygienic popping experience. A mild detergent is sufficient; avoid abrasive cleaners that could scratch surfaces; Inspect all components for any remaining debris. This initial cleaning prepares your Nostalgia Popcorn Maker for years of delicious, freshly popped treats!
Operating Instructions: Cart Style
Cart-style models feature a removable popping cart for easy loading and cleaning. Simply fill the cart with kernels and oil, then slide it into the popper.
Loading Kernels into the Cart
Before beginning, ensure the popcorn maker is switched off and unplugged for safety. Carefully remove the popping cart from the unit; it’s designed to slide out easily. Measure the desired amount of popcorn kernels – typically, ½ to ¾ cup is sufficient for a standard batch, but adjust to your preference.
Pour the kernels evenly into the cart, avoiding overfilling. Overfilling can lead to uneven popping and potential clogging. Once the kernels are in place, ensure they are distributed in a single layer for optimal results. Gently slide the loaded cart back into the popcorn maker, ensuring it clicks securely into position.
Adding Oil or Butter (Cart Style)
For optimal flavor and popping, add oil or melted butter to the cart before adding the kernels. Typically, 2-3 tablespoons of coconut oil, vegetable oil, or melted butter are recommended for a standard batch. Pour the oil evenly over the bottom of the cart, ensuring it coats the surface.
Avoid using excessive oil, as this can result in soggy popcorn. Some models feature designated oil reservoirs; if yours does, follow the manufacturer’s instructions for filling. Ensure the oil is evenly distributed before starting the popping process for consistent results and delicious flavor.
Starting and Stopping the Cart-Style Popper
To begin, ensure the cart is securely positioned and plugged into a grounded outlet. Locate the power switch, usually found on the base or side of the unit, and switch it to the “On” position. The stirring mechanism and heating element will activate.
Allow the unit to preheat for a few minutes before the popcorn starts popping. To stop, simply switch the power button to “Off”. Always unplug the popper after use and allow it to cool completely before cleaning or storing.
Operating Instructions: Kettle Style
Kettle-style Nostalgia Popcorn Makers offer a traditional experience, utilizing a rotating kettle for even heating and popping. This method delivers consistently delicious results.
Adding Kernels to the Kettle
Before beginning, ensure the kettle is cool and completely dry. Carefully measure the recommended amount of popcorn kernels – typically ½ to ¾ cup, depending on your model’s capacity, as indicated in the manual. Gently pour the kernels into the rotating kettle, distributing them evenly across the surface. Avoid overfilling, as this can hinder proper popping and potentially cause kernels to spill over during operation.
Proper kernel measurement is crucial for optimal performance and preventing potential issues; Refer to your specific model’s instructions for the precise kernel quantity to use for each batch. Consistent measurement ensures a satisfying and flavorful popcorn experience every time.
Adding Oil or Butter (Kettle Style)
For kettle-style Nostalgia Popcorn Makers, add approximately 2-3 tablespoons of coconut oil, vegetable oil, or melted butter into the kettle before adding the kernels. Ensure the oil or butter coats the kettle’s surface evenly as the rotating action will distribute it during popping. Using clarified butter minimizes burning.
Avoid using extra virgin olive oil due to its lower smoke point. The amount of oil/butter can be adjusted slightly to preference, but exceeding the recommended amount may cause excessive smoking or a greasy final product.
Stirring Mechanism and Operation
The kettle-style Nostalgia Popcorn Maker features a built-in stirring mechanism, crucial for even heating and preventing burning. Once the unit is powered on, the kettle will rotate, gently agitating the kernels and oil. Do not attempt to manually stir the popcorn while the machine is operating; this could damage the mechanism or cause injury.
Consistent stirring ensures all kernels come into contact with the heated surface, resulting in a more uniform pop. Observe the popping action; if kernels aren’t moving freely, ensure sufficient oil is present.
Cleaning and Maintenance
Regular cleaning extends your Nostalgia Popcorn Maker’s life. Always unplug the unit before cleaning, and allow all parts to cool completely for safety.
Cleaning After Each Use
After each use, disconnect the popcorn maker from the power outlet and allow it to cool down completely. Remove the popping cup or cart and carefully wipe away any unpopped kernels or residual oil. The cart or cup is often removable for easier cleaning; consult your model’s specific instructions.
Wash the removable parts with warm, soapy water, ensuring all traces of oil and popcorn residue are removed. Avoid abrasive cleaners, as they can damage the surfaces. Wipe down the exterior of the popcorn maker with a damp cloth.
Thoroughly dry all components before reassembling and storing the unit. This prevents rust and ensures optimal performance for your next popcorn-making session.
Deep Cleaning Procedures
Periodically, a more thorough cleaning is recommended. Disassemble all removable parts – popping cup, stirring mechanism (if applicable), and any other detachable components. Wash these parts in warm, soapy water, paying close attention to areas where oil and popcorn residue accumulate.
For stubborn residue, a mild degreaser can be used, but ensure it’s fully rinsed away. Wipe down the exterior housing with a damp cloth and a mild cleaning solution.
Inspect the heating element for any buildup and gently remove it with a soft brush. Ensure everything is completely dry before reassembling.
Storage Instructions
Before storing your Nostalgia Popcorn Maker, ensure it is completely cool and dry. Clean all removable parts thoroughly as outlined in the deep cleaning procedures. Store the unit in a cool, dry place, away from direct sunlight and moisture.
Avoid storing it in areas prone to extreme temperatures or humidity.
If possible, store the unit in its original packaging to protect it from dust and damage. Keep the power cord neatly coiled and secured to prevent tangling or fraying during storage.
Troubleshooting Common Issues
Addressing typical problems like unpopped kernels, burning smells, or a non-functioning motor ensures optimal performance and extends the life of your popcorn maker.
Popcorn Not Popping
If your Nostalgia Popcorn Maker isn’t popping, first verify the power source is securely connected and functioning. Ensure you’re using fresh, high-quality popcorn kernels, as older kernels may lack sufficient moisture. Confirm the correct amount of kernels is loaded – too few or too many can hinder popping.
Check that the heating element is clean and free of debris. A buildup can reduce its effectiveness. Also, ensure the stirring mechanism (if applicable) is operating correctly, distributing kernels evenly for consistent heating. Finally, verify the temperature is reaching the optimal level for popping; a faulty thermostat could be the issue.
Burned Popcorn Smell
A burned popcorn smell indicates kernels are scorching, potentially due to insufficient oil or an excessive popping time. Immediately turn off and unplug the Nostalgia Popcorn Maker to prevent further burning and potential fire hazard. Allow the unit to cool completely before inspection.
Check for unpopped kernels stuck to the heating element or popping surface. Thoroughly clean the unit, removing any burnt residue. Ensure you’re using the recommended oil amount and not overfilling the kernel chamber. Reduce popping time or temperature if the issue persists.
Motor Not Running
If the motor isn’t running, first ensure the unit is securely plugged into a functioning power outlet. Check the power cord for any visible damage. Verify the on/off switch is fully engaged. A jammed popping mechanism can also prevent motor operation; carefully inspect for obstructions.
If the issue continues, the motor may have overheated and activated a thermal safety switch. Allow the unit to cool completely before attempting to restart. If problems persist, avoid self-repair and contact customer support for assistance.
Safety Precautions
Always unplug the popcorn maker before cleaning. Never immerse the base in water. Keep hands and flammable materials away from hot surfaces during operation.
Electrical Safety
To ensure safe operation, always verify your outlet voltage matches the device’s requirements. Never operate the popcorn maker with a damaged cord or plug; replace immediately. Avoid using extension cords if possible, and if necessary, ensure it’s rated for the appliance’s wattage. Do not operate the machine in wet conditions or with damp hands.
Proper grounding is crucial to prevent electrical shock. Never attempt to disassemble or repair the electrical components yourself; contact qualified service personnel. Always unplug the unit when not in use and before cleaning. Keep the cord away from heated surfaces.
Burn Prevention
Exercise extreme caution during operation as surfaces become very hot. Avoid touching the popping chamber, kettle, or cart components while the machine is running or immediately after use. Utilize oven mitts or heat-resistant gloves when handling hot parts. Keep children and pets away from the popcorn maker during operation and cooling;
Never leave the machine unattended while popping. Be mindful of steam escaping, as it can cause burns. Allow the unit to cool completely before cleaning or storing. Always unplug the appliance before attempting any maintenance.

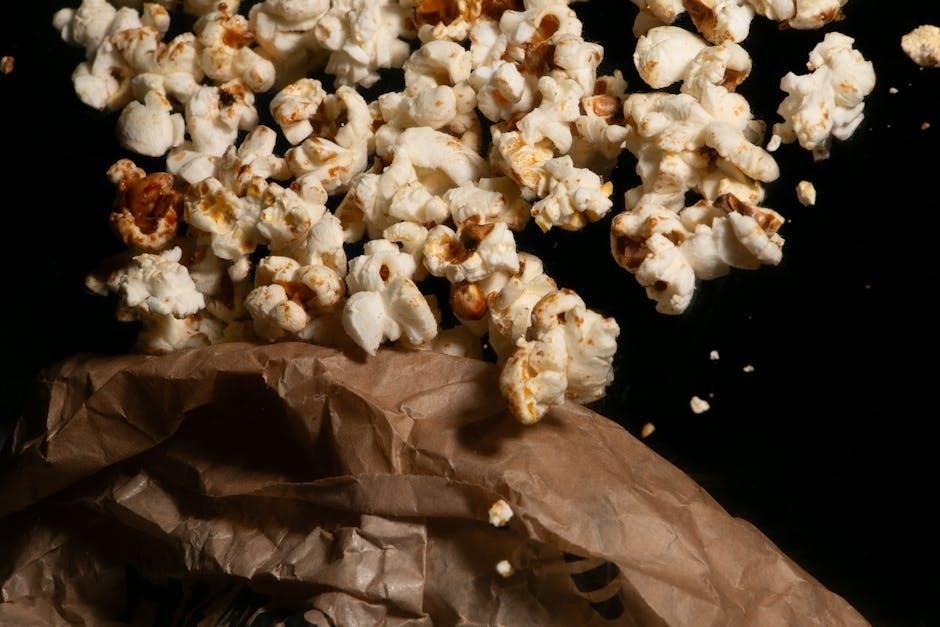
Recipes and Flavoring Ideas
Elevate your popcorn with classic butter, or explore caramel delights! Experiment with seasonings like cheese, garlic, or even sweet cinnamon for unique flavors.
Classic Buttered Popcorn
For a timeless treat, begin by popping your kernels using your Nostalgia Popcorn Maker, following the cart or kettle style instructions. Once popped, transfer the warm popcorn to a large bowl. Melt approximately 4 tablespoons of butter – adjust to your preference – and drizzle evenly over the popcorn.
Immediately sprinkle with a generous pinch of salt. Gently toss to ensure the butter and salt are distributed throughout. For an extra touch, consider adding a dash of garlic powder or paprika. Serve immediately and enjoy the simple perfection of classic buttered popcorn!
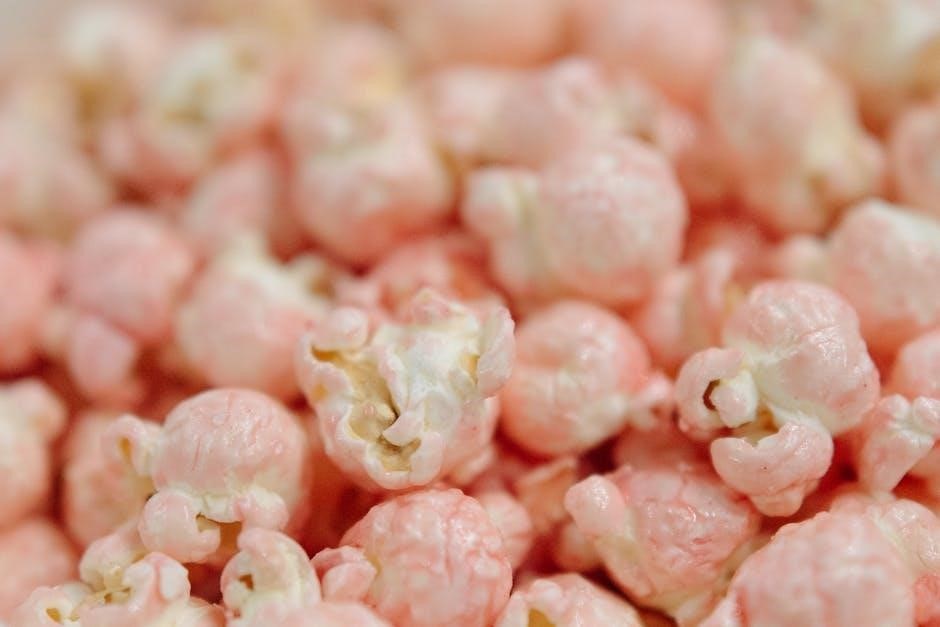
Caramel Popcorn Recipe
To create decadent caramel popcorn, first pop your kernels using your Nostalgia Popcorn Maker. In a saucepan, combine 1 cup sugar, ½ cup butter, ¼ cup corn syrup, and a pinch of salt. Heat over medium, stirring until sugar dissolves. Bring to a boil, then reduce heat and cook for 5 minutes without stirring;
Remove from heat and stir in ½ teaspoon vanilla extract. Pour caramel over popped popcorn, tossing to coat evenly. Bake on a parchment-lined sheet at 250°F (120°C) for 1 hour, stirring every 15 minutes. Cool completely before enjoying!
Warranty Information
Your Nostalgia Popcorn Maker is covered by a one-year manufacturer’s warranty against defects in materials and workmanship from the date of purchase.
Registering Your Product
To activate your Nostalgia Popcorn Maker’s warranty and receive important product updates, please register your purchase online. Visit our official website at [insert website address here] and locate the “Product Registration” section. You will need your model number, serial number (found on the appliance’s base), and proof of purchase – typically your sales receipt.
Registration allows us to efficiently process any warranty claims and keep you informed about new recipes, accessories, and helpful tips for enjoying your popcorn maker. Failure to register does not void your warranty, but it may complicate the claims process.
Contacting Customer Support
For assistance with your Nostalgia Popcorn Maker, our dedicated customer support team is readily available. You can reach us via phone at [insert phone number here] during business hours, Monday through Friday, 9 AM to 5 PM Central Time. Alternatively, email us at [insert email address here] and we will respond within 24-48 hours.
Please have your model number and a detailed description of the issue ready when contacting support. Visit our website’s FAQ section for quick answers to common questions before reaching out. We are committed to ensuring your complete satisfaction!
Frequently Asked Questions (FAQ)
Common questions about Nostalgia Popcorn Makers are addressed here, covering kernel types, cleaning procedures, and component safety for optimal performance and enjoyment.
Can I use microwave popcorn kernels?
It is generally not recommended to use pre-packaged microwave popcorn kernels in your Nostalgia Popcorn Maker. These kernels often contain added oils, flavorings, and propellants designed for microwave heating, which can cause issues with the popper’s mechanism and potentially damage the unit.
Using traditional, unflavored popcorn kernels specifically intended for air or oil popping will yield the best results and ensure the longevity of your popcorn maker. The machine is designed for these types of kernels, providing optimal popping and flavor control.
Is the popping cart dishwasher safe?
While some Nostalgia Popcorn Maker models feature a popping cart designed for easy cleaning, it’s crucial to verify your specific model’s instructions. Generally, the popping cart is top-rack dishwasher safe, allowing for convenient cleanup after each use.
However, hand washing with warm, soapy water is always the gentlest and most recommended method to preserve the cart’s finish and prevent potential warping or damage from high dishwasher temperatures. Always ensure the cart is completely cool before cleaning.